Here's where we started:


By the time the finish was sanded off we'd learned the dresser was made in Canada Jan 11, 1971 and was made of fruit wood.
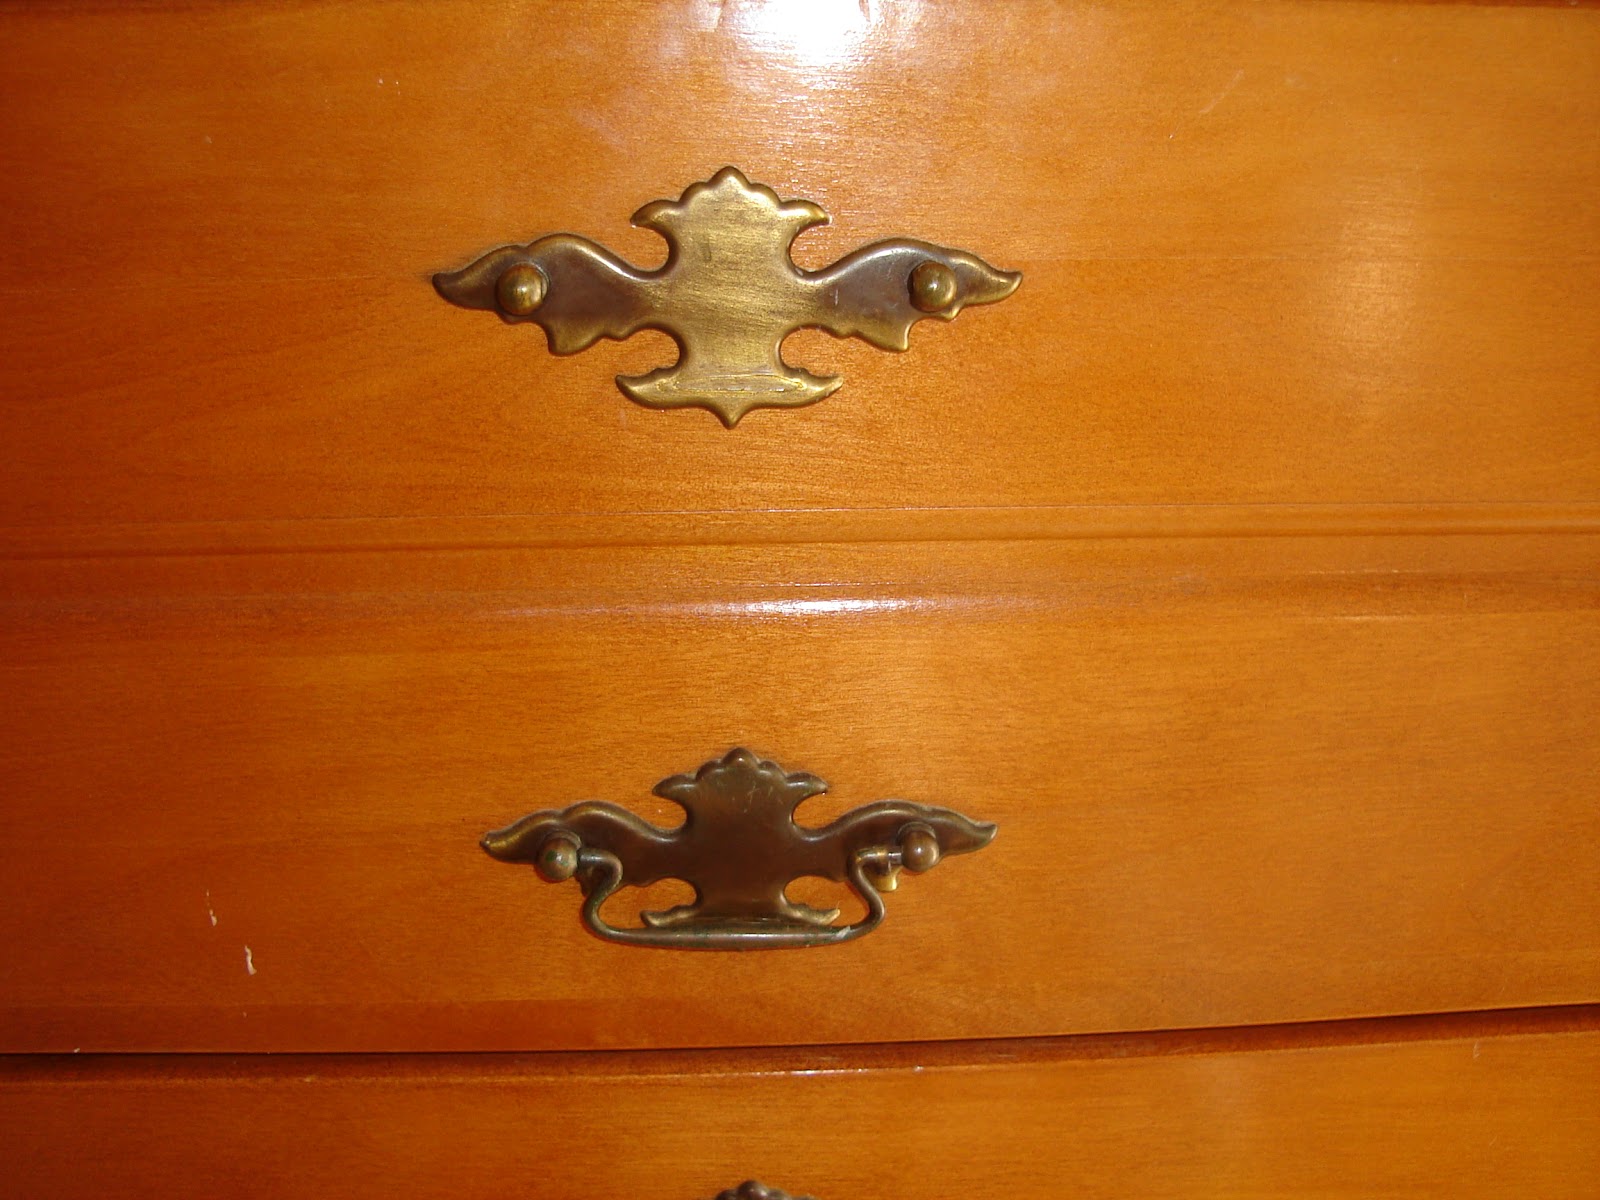
Here's some snaps of a naked dresser:


I didn't have clamps strong enough to bring together the small splits on the sides but I did try to address the broken face on the bottom left. I made some shavings in cedar since it was a close colour match and stuffed them into the crack with a bit of glue. After clamping the repair is strong enough but there is still a noticeable crack. If this wasn't getting finished in black I and I was inclined to spend enough time on it what I should have done is bore out the plugged screw hole and used the broken piece as a template to create a new better fitting piece. This would also have required milling some fruit wood (possibly cherry) to 1/2" thick with a small hand plane.
The broken foot did teach me another lesson. The broken off bit was rift sawn and the the piece it was joined to if flat sawn. Both pieces have a screw in them holding them to the cabinet face. The rift sawn board would have expanded and contracted less with humidity changes creating extra stress on that glue joint.
Here's my attempt at filling the crack:


I'm using Minwax Polyshades classic black because I wanted a very dark contemporary looking finish and that's the darkest I saw without using paint or looking into lacquer. I'm not sure I'd use this product to try to get a uniform finish on raw wood again. I do believe the effect after one or two coats could be used in interesting ways. I could see one coat being a very effective distressed/ sun worn look.
Here's one coat:


I think for a distressed look a VERY thin coat rubbed on with a rag would work in some applications. I applied the finish with a rag using long strokes and rubbed lightly in between coats with 0000 steel wool. Here's pictures after the second coat:


Another lesson learned: I needed to do some more sanding. There were some rough spots on the top that I couldn't see until the first coat of finish was applied. I think a light rub with mineral spirits or denatured alcohol might have helped me find these spots before finishing. Also, I need more light badly. With the dresser on the work bench only one side is lit well enough for finishing...or taking blog pictures.
No comments:
Post a Comment