This weeks post is all about plowing through some of the details. It's another good lesson in having the right tools for the job.
The jatoba threw the first punch when I tried to use a slot cutting bit to create grooves that would eventually hide the edges of the paper screens. I took that one full in the face and countered with a bench-top router table jab to the kidneys. It just felt too scary to really get the result I really wanted so the grooves ended up a lot shallower than I had intended. Later on the jatoba tried to sucker punch me with tear out while cutting some slots but I cranked up the horse power on the router and drove the jatoba to the mat in round 2 with a jaw shattering uppercut. After going the distance the judges unanimously declared
Teg's Tools the winner over my wallet as I'll be shopping for a full sized router table as soon as possible.
I've had the horizontal rails in place several times but they all needed to be individually fit a little better in order to be able to get glue on them and push them into place without making a mess. I clamped each one in the vice and used a block plane to shave them down to size. A second piece of jatoba is clamped behind the rail that's being worked on so the grains at the end of the board are supported and don't tear out.
A million pocket holes are drilled in the rails. These will help hold everything together since the glue's strength will be significantly weakened due to the joinery on these pieces being an end grain butt joint. Putting tendons on these pieces would have made the entire project a nightmare to glue up as it would all have to be assembled and glued in one shot. That's a lot of gluing and clamping to do in 10 minutes or less. No one's going to be climbing on these pieces...I hope... so I'm pretty sure the pocket hole screws will be plenty strong enough.
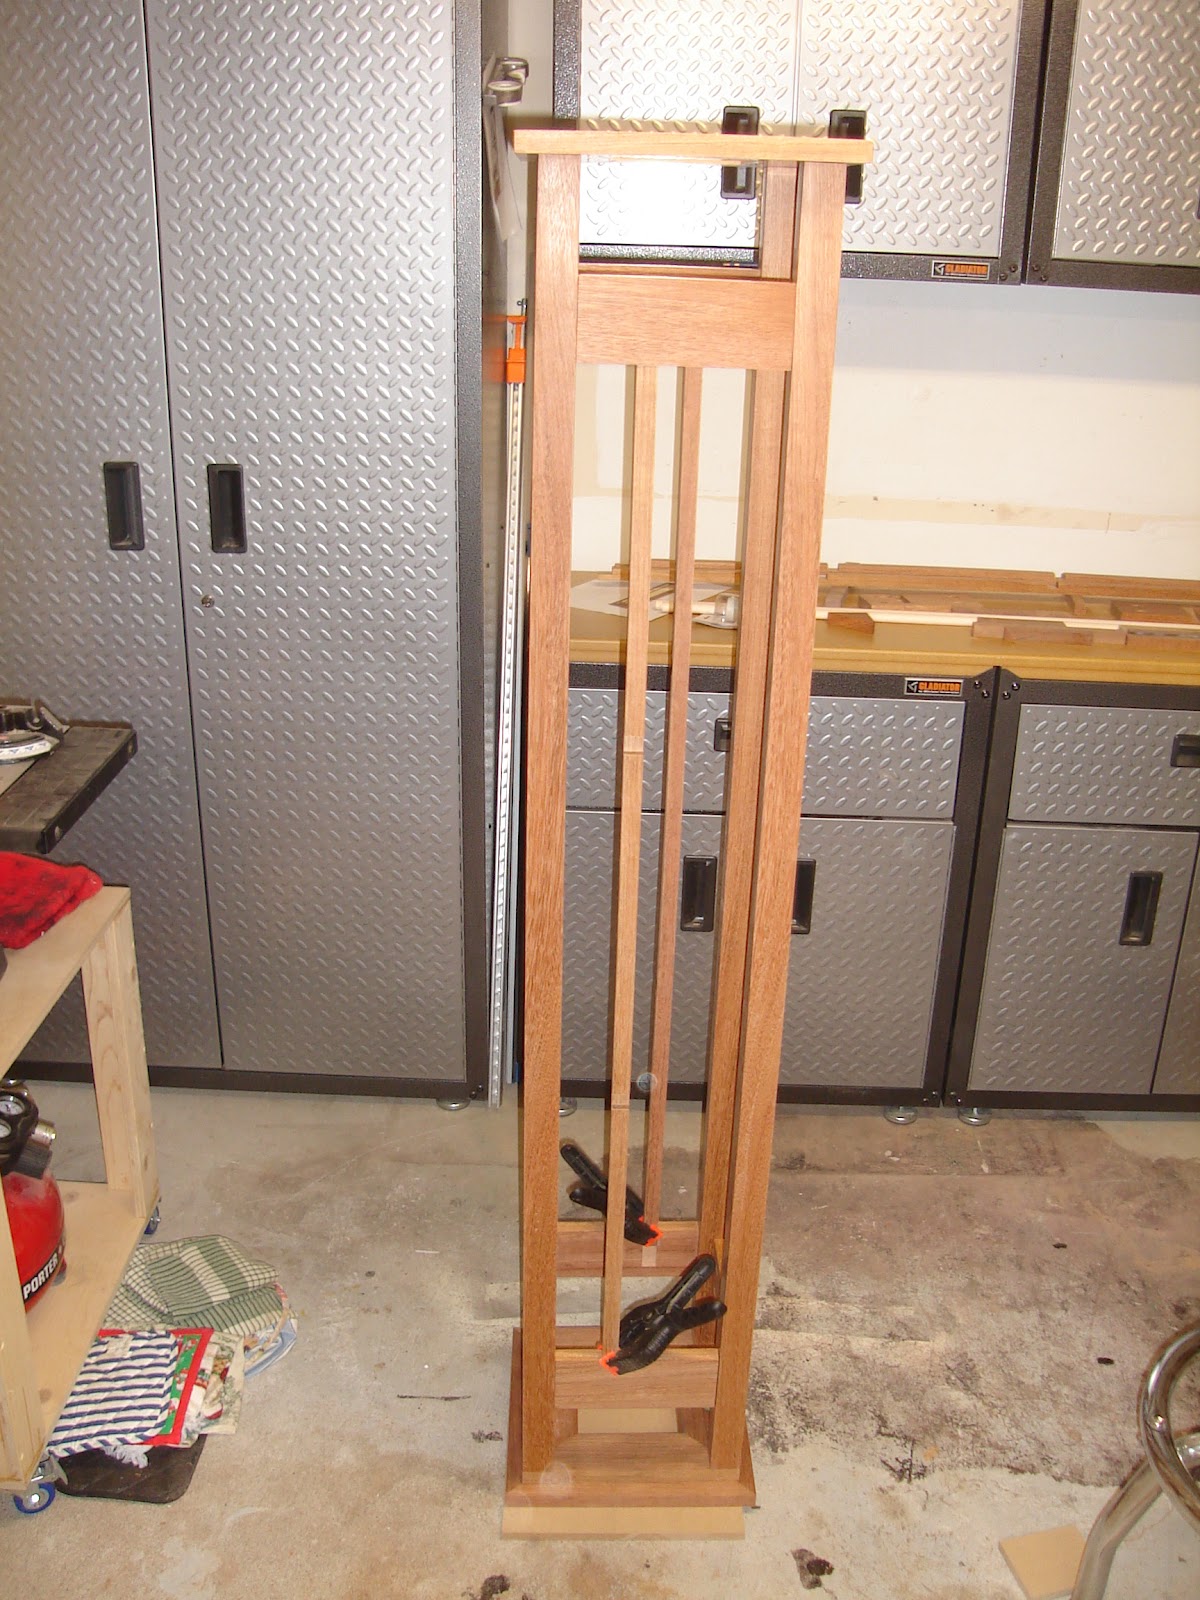
The bottom rails are all test fit. I have 2 pieces of MDF that I use as spacers to get them all exactly the same height.
Someone get that drill a little blue pill!
There's no room for an ordinary drill bit to get to the pocket hole screws so I intend to use a device that allows you to drive screws from an angle. Figuring out a way to drive the screws in has been bugging me for weeks so I was trying to see if this option would work during the dry fitting. I've still got a long ways to go before I put the screws in.
I wrap up dry fit and call it a night. Little did I know the jatoba and I were going to throw down during our next session.
Pre-fight warm up: I grab some poplar and test out the slot cutter I'm going to use to cut the grooves. Poplar's no jatoba but it doesn't look like there's going to be a problem.
I mark the sides that need grooves with tape. I could see me doing something smart and cutting a big old groove down one of the outside faces of the legs just because I'm like that. I like to idiot proof...and then go a step farther and G proof the process when possible.
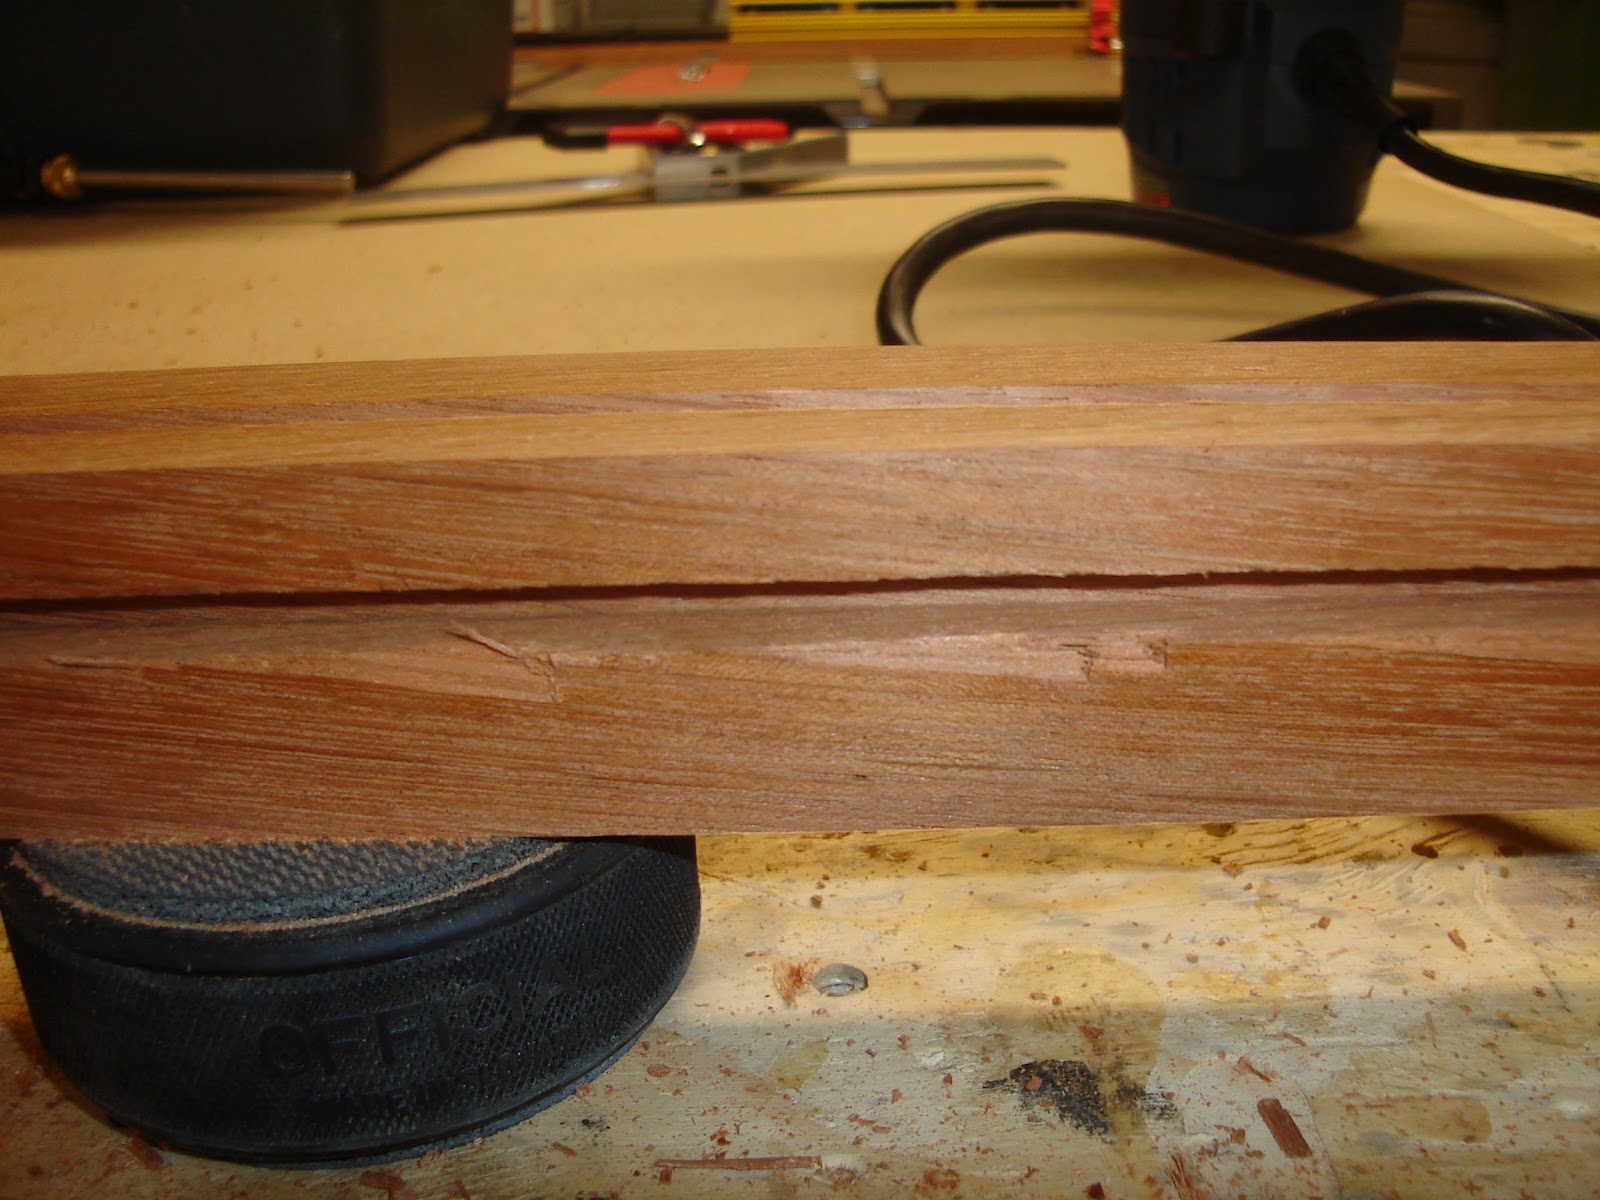
This is where the jatoba comes out swinging. The focus is a little off but towards the left side of the picture below you can see a piece of tearout that's nearly 2" long after cutting the first groove. There's also a little bit at the very end that I'm not as concerned about because it will be hidden.
I try to defend by using a marking gauge to sever the wood fibers at the edges of the groove before doing the routing.
But it's not enough.
So I get out the bench-top router table. This always feels a little dangerous because only 2 of the 3 screws that are supposed to hold the router in get any grip. The legs are also a little long for the surface. I was pretty careful and left the grooves very shallow to compensate.
And I made some sawdust.
Now I start to make a template to cut some slots. The slots will hold the dowels that the paper screens will be attached to. I glued together two pieces of MDF to get the thickness I needed.
I then drilled holes for the dowel...
...and cut out the rest with a hand saw.
Here's a test slot. The jatoba still has some fight left in it.
More tearout.
This is better. I ended up cranking the speed way up on the router and most of the slots came out clean.
Here's the template in action. I've put green tape over the slot I don't want to cut out on this side of the leg.
This is what it looks like with the slots cut in both sides of the leg.
With the routing details all done on the legs it's time to get some glue on something. I start by cleaning up the base.
I plane off the burn marks...
...and give the base a good sanding.
Here's what it's going to look like. The notes for my best man's speech are on the left. Sanding is a good time to thing about things like that.
The glue is applied.
And spread evenly using a rubber roller.
The two pieces are firmly clamped together.
Here's the end product.
Now that the base is done, I start gluing the legs into it two at a time.
The glue's drying and this post is longer that this lamp is tall so let's call it a day.
Cheers!


No comments:
Post a Comment