This is the home stretch. The bottom of the bench looks good and is inspiring me. The plan is to add a curve to the top of the bench to give it some shape and make it inviting to plop down onto to pull off snowy wet boots during the winter after a hard day of shoveling snow. I also want to add a round over to the bottom of the seat so to carry the shape from the ends of the rungs up to the top of the bench.
So I start with some sanding to flatten out the top and remove any glue squeeze out.
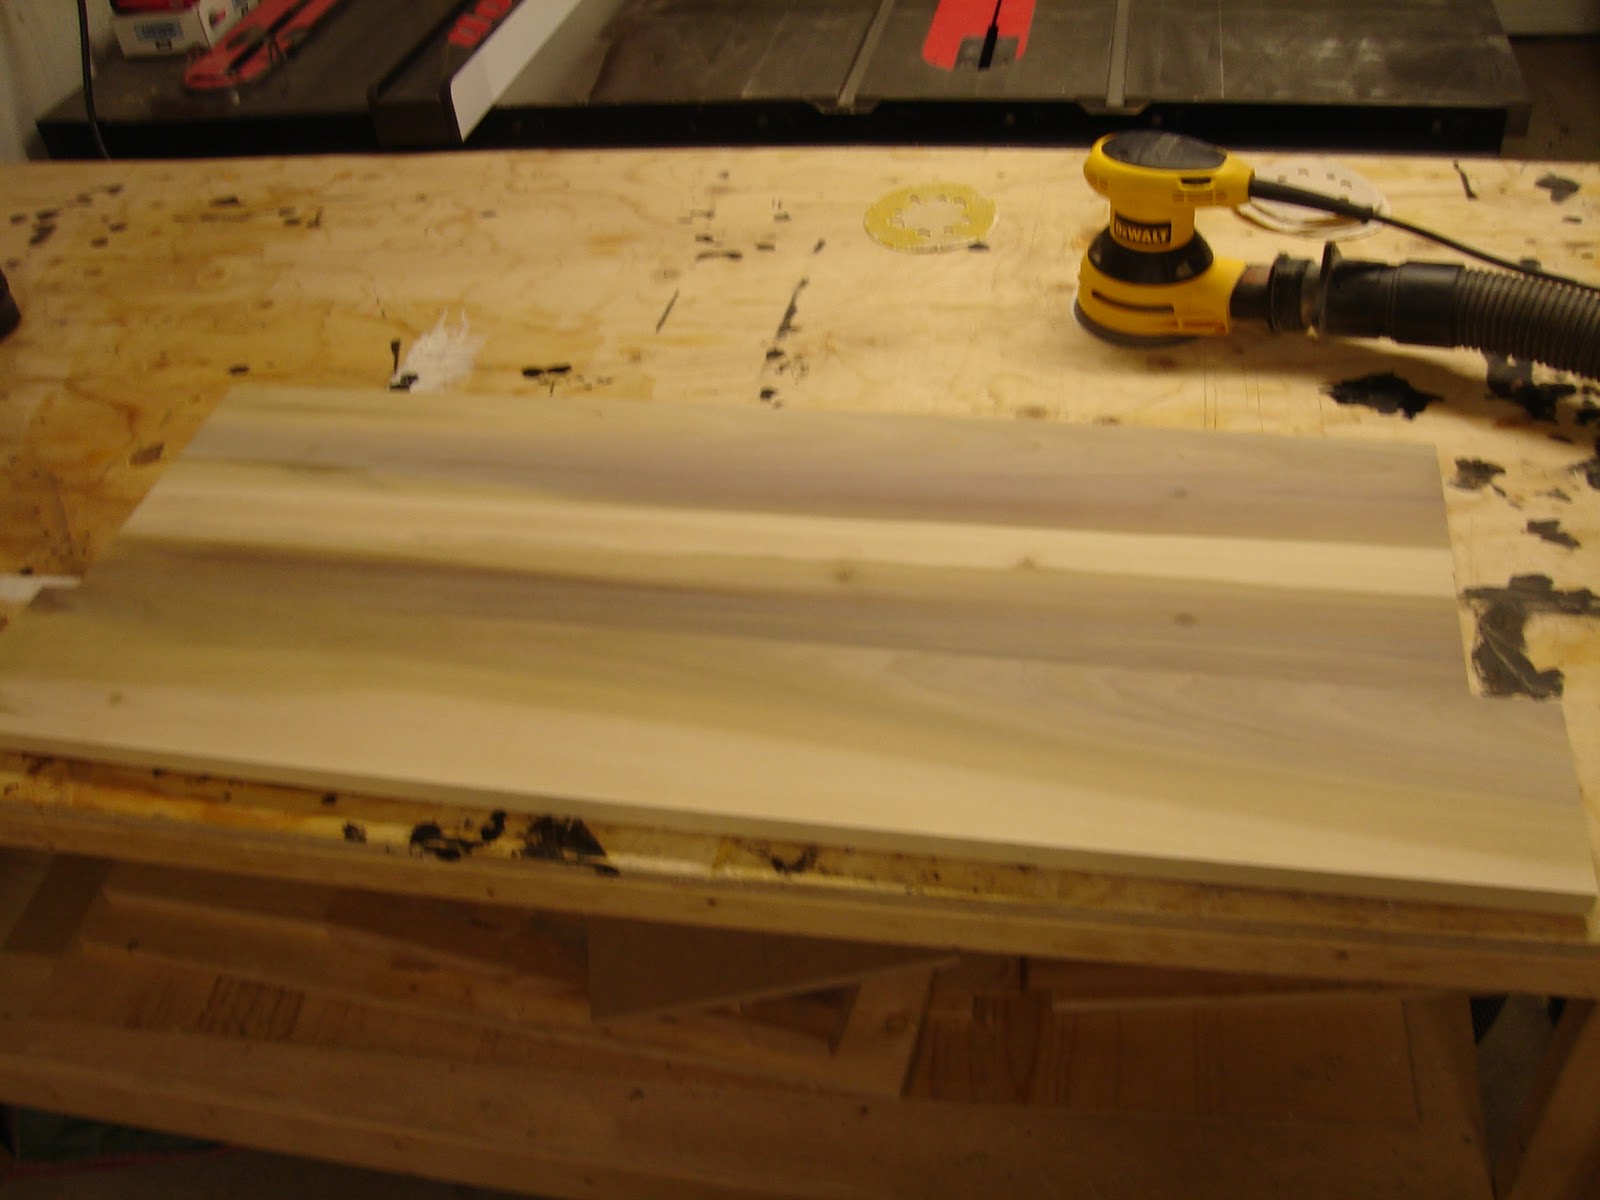
Before sanding:

After Sanding:
Things are going so smoothly at this point I forgot to stop and take pictures! I cut one side down on the table saw to give it a straight edge then measured and cut the entire seat to length. Next I attached the curved template I've had around for the seat since the beginning of the project. I took the seat to the bandsaw to rough cut the curve then I finished it with the router and a template bit.
I turned the seat over and routed around the sides and front with a large round over bit. This should make it easy on the figures when opening the lid and give the top the same upturned look as the bottom shelf rungs.

This is what the top looks like after it's final sanding. It's a little blurry because my hands are vibrating from sanding for an hour.


-G
No comments:
Post a Comment