I want to shed some light on something, let's get this lamp done! This post is all about assembly and fine tuning the fit of a lot of the smaller pieces of this lamp. How to install the rails in this lamp has bugged me since day one and rightfully so. Once they are in place this project finally picks up the momentum it had when it first started.
Here we have the bottom rails in place. I was so focused on perfecting my technique and getting them in right that I didn't take any pictures of the progress. There are four more rails at the top and I'll walk through how I got them in with all of the lessons I learned on the bottom.
The first thing I did was drive the screws though the last part of the pocket hole to "pre-drill" the rest of that hole. It's a lot easier to do on the work bench then it is to do while holding the rail in place with one hand. I then backed the screw out a bit so the point was buried enough to not scratch anything while being maneuvered into place.
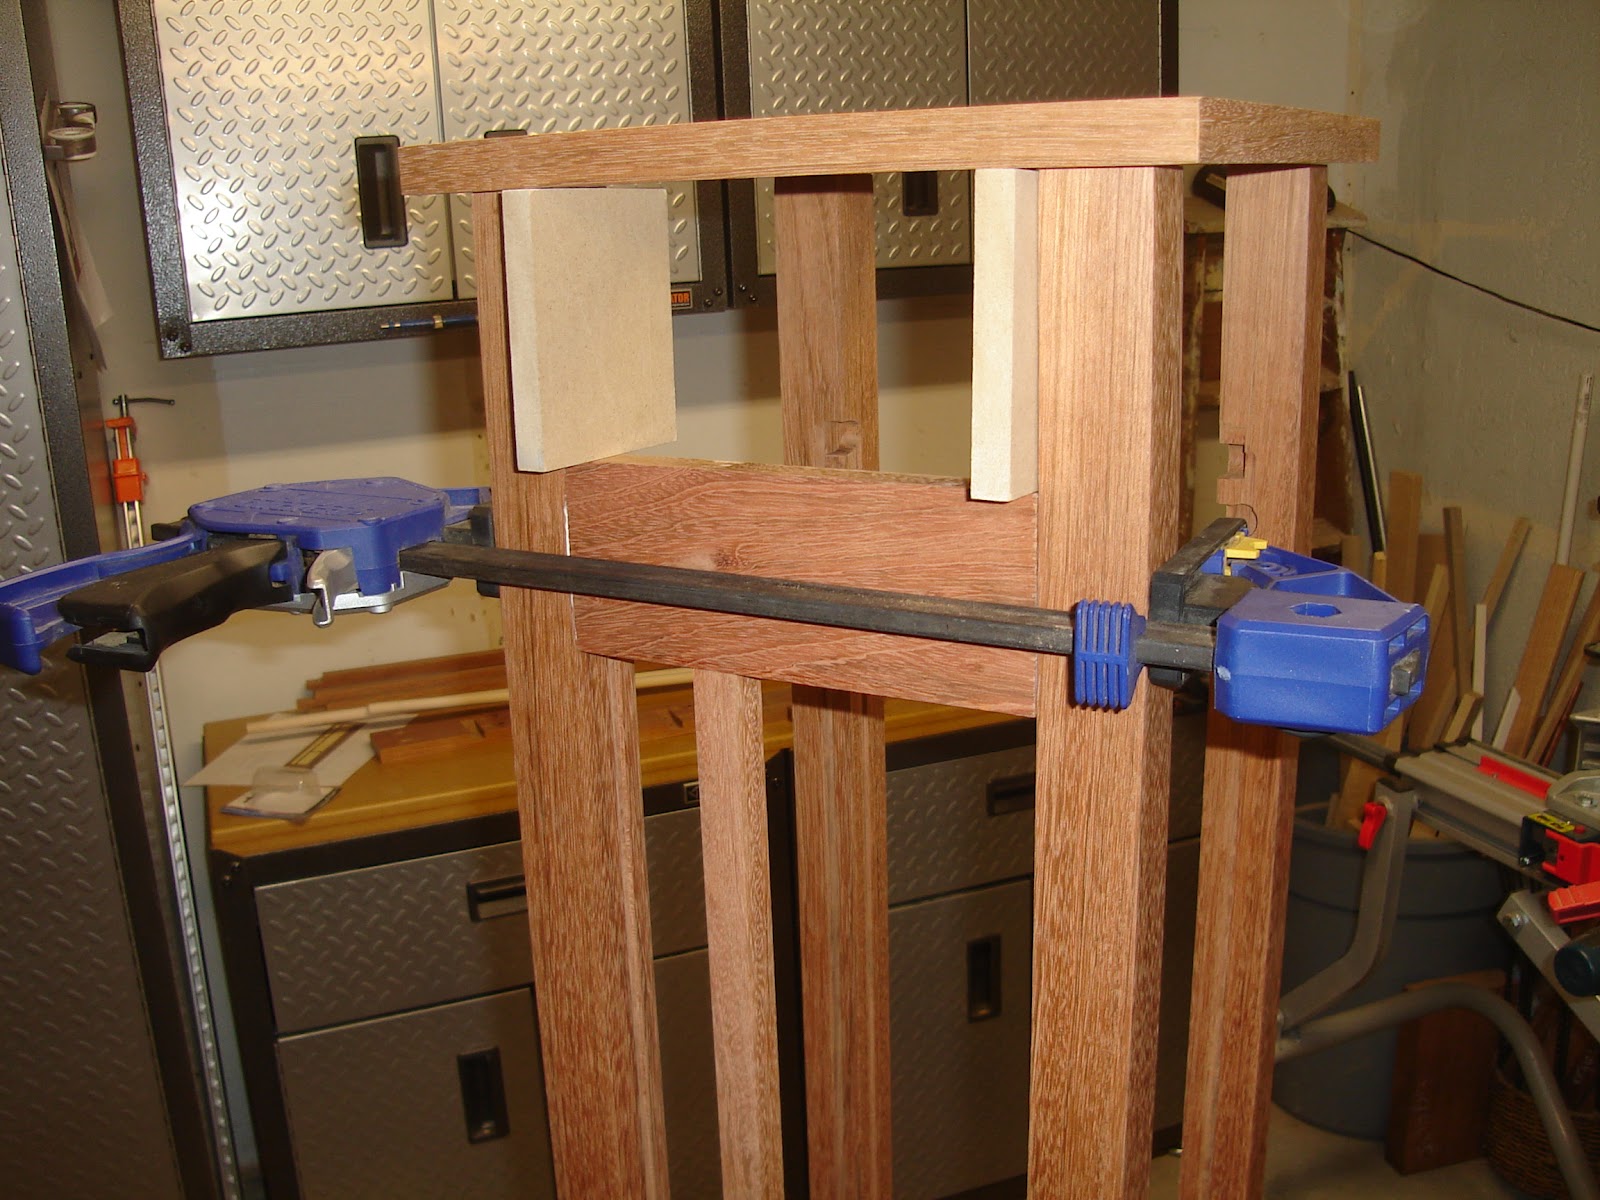
In order to get the rails at the right height I clamped the vertical detail piece in place...
...and used my two MDF spacers on the top. Here we can see that glue has been applied to the rails and there's a bit of squeeze out at the left side.
I apply a clamp to hold the rail in place.
Once more of the rails are on there's no room to use a drill or even a screw driver to tighten the screws. I set up a ratchet with a screwdriver bit to get the job done.
It works. I had to be careful not to over tighten the screws but I wanted enough pressure on them to really lock the rails in place. I found over tightening could lead to the jatoba starting to crack or the screws actually snapping in half. Have I mentioned that jatoba is hard stuff?
All four of the rails are glued and screwed in.
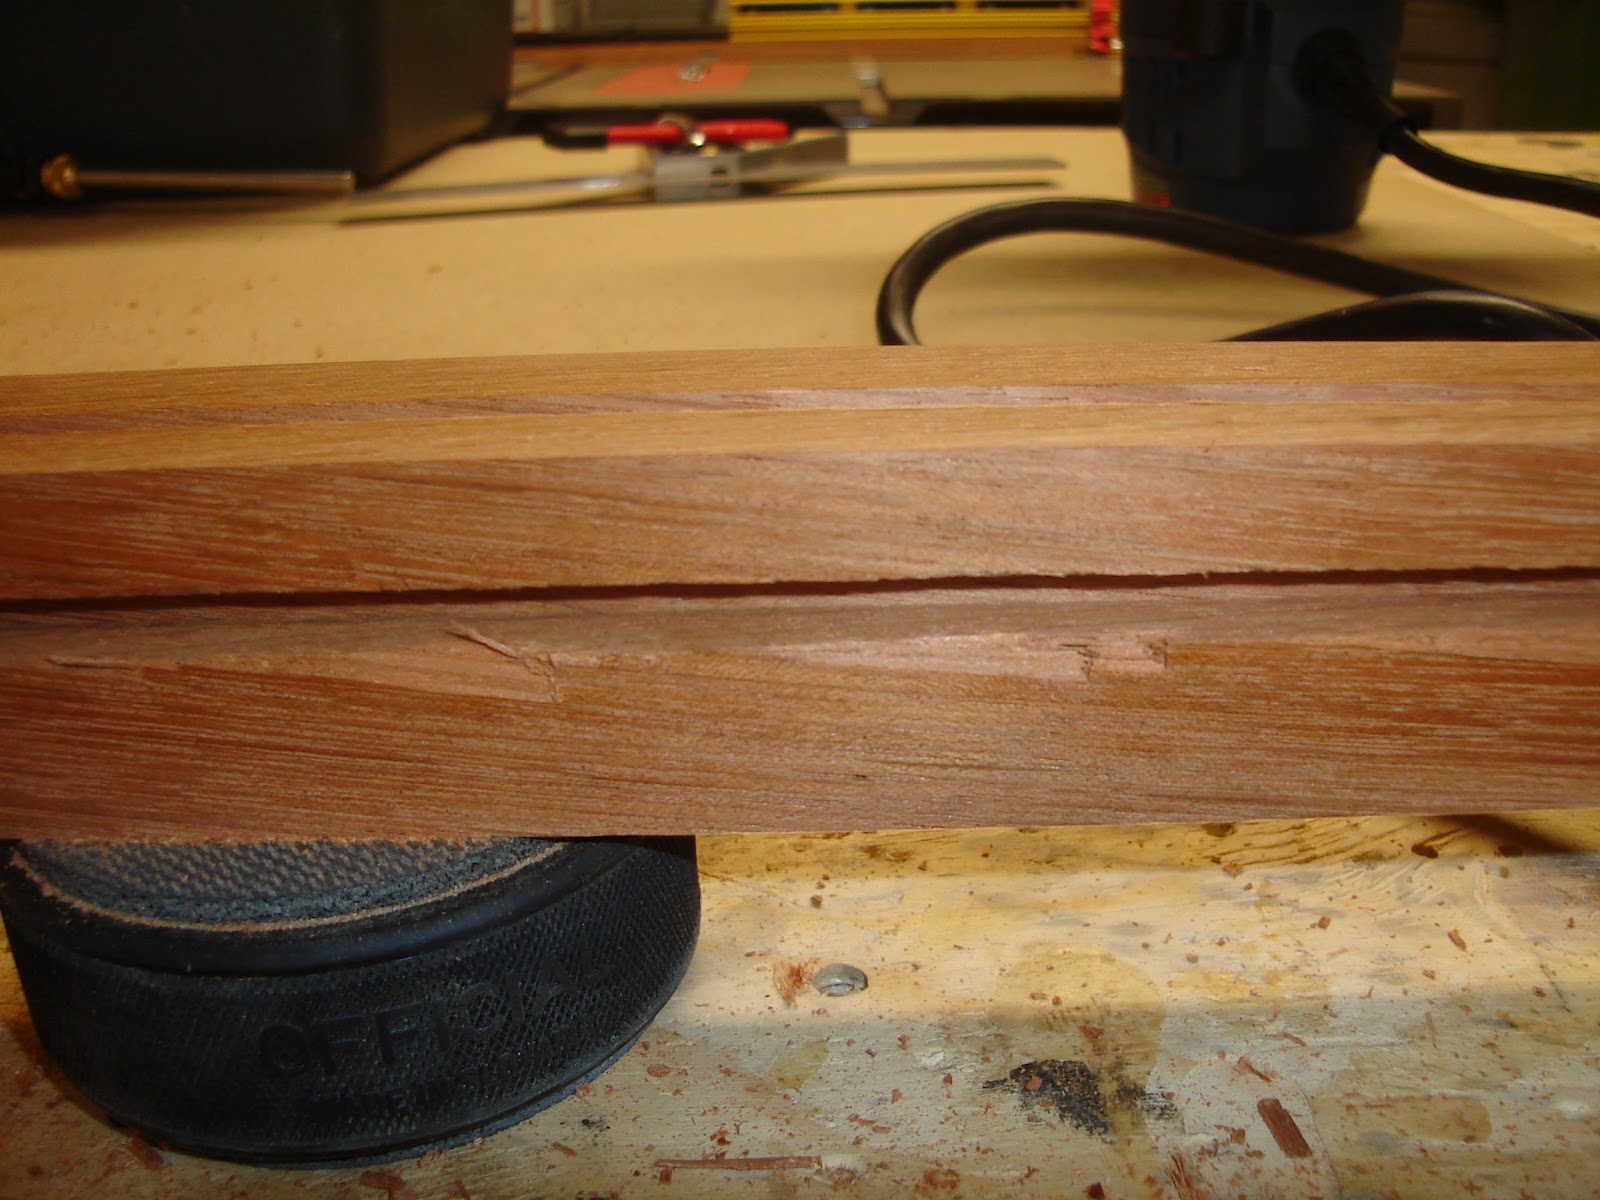
This rail had a bit of a twist so I used a hand plane to knock down the high corner.
Now it's on to sanding!
And more sanding! I didn't have any speeches to write this time. I find sanding relaxing so I was practically in a coma by the time I was done.
Or...I would have been if I hadn't been worrying about these. Attaching the rails on this project represented a challenge because of the tight spaces involved but a much bigger challenge was how to hold the paper in place for the screens. It was decided early on the screens should be replaceable. There isn't much protecting them and sooner or later one of them is going to get chewed on by a puppy, or have a drink spilled on it, or a child is going to colour on it with a marker, or Johnny Depp is going to come by with his scissor hands and poke a hole in it or slightly less likely,
I'll poke a hole in it loading it into the truck for delivery. Anyway, Mrs. G decided early on the screens should be replaceable and I've been anticipating this challenge ever since. So I carefully cut the dowels that the the mulberry paper will wrap around to exact length and snap them in place.
This is when I discover that cutting the dowels long enough to fit tightly is the only mechanism that's required to keep them from spinning too easily. Great!
This lamp still needs a light. I use a piece of poplar for this because I'm pretty sure my drill will launch the piece of wood like a Russian Rocket headed to the
ISS if I try to make a big hole in a piece of jatoba. First I mark out the centre.
Then I drill a hole for the light bulb socket to fit into.
Then I add some pocket holes for attaching the piece to the lamp.
These last two holes will have the wires threaded though them. I do this so that the spliced wires will be hidden and so I can push the cord through the hole and tie a knot in it to lock it in place. This way if someone trips on the cord they'll have 40 pounds of jatoba hurtling straight at them instead of 120 volts of exposed live wires. I deem this to be safer.
I square up the post and clamp it in place with some glue.
Then I drive in the screws. For once I got to use a power tool to put the screws in so this was a very quick piece to install.
Next I begin gluing the small detail pieces to the vertical rails. I assemble everything to help hold the pieces precisely in place.
I add clamping pressure to the glued up half lap joints. The whole detail assembly can still be removed at this point, I'm not gluing anything to the frame yet.
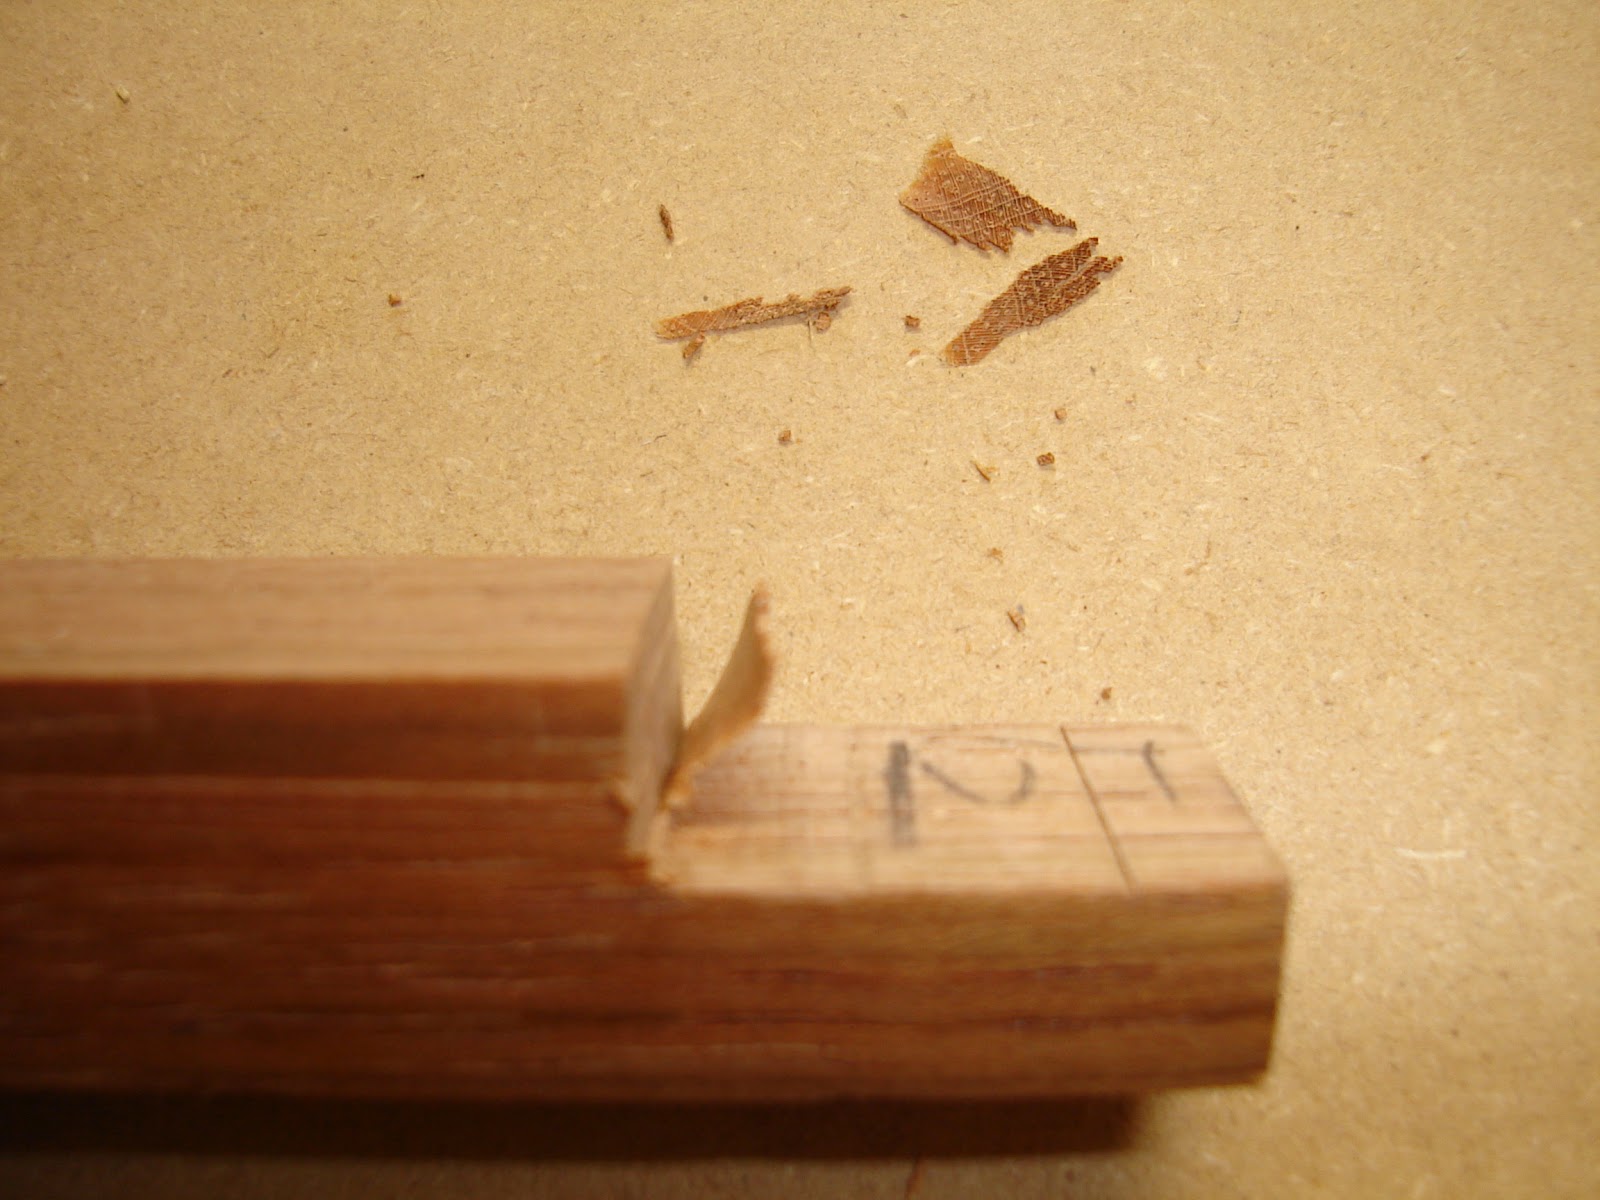
I've discovered that for whatever reason one of the vertical rails just won't go into place any more. So I pull out a chisel...
...and make an adjustment. It's pretty easy to just trim the rail a little bit to make it fit again. I suspect the problem has been caused by the weather changing. It's gotten pretty warm and humid outside.
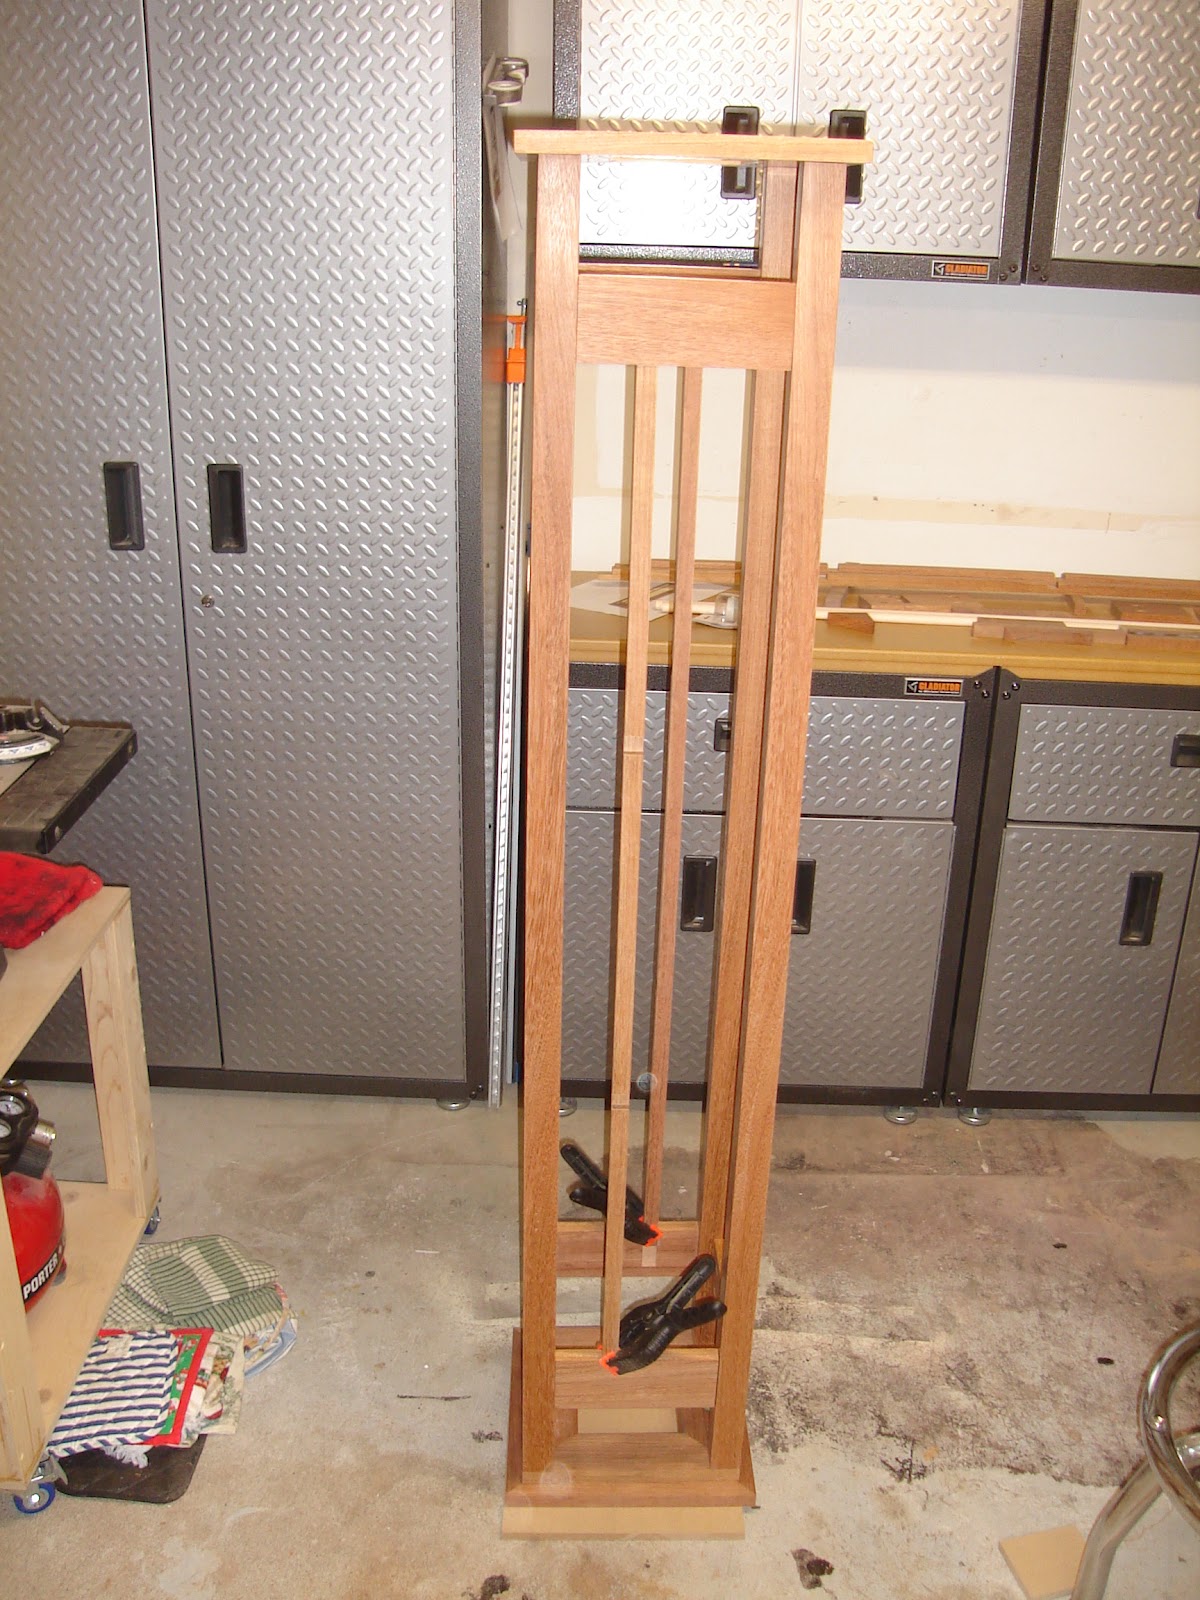
So...this is what it'll look like when it's done! I've got to say, it turned out exactly like the picture I've had in my head this whole time.
I remove the centre parts and give them a final sanding. I'm sure it'd be impossible to sand these once they're glued in place.
Once the centre pieces are oily smooth, I glue them in place one side at a time since I don't have that many small clamps. This process took all week.
There's a slight rock to the lamp that I'm not happy with. I located a bit of the base that's maybe a 32nd of an inch proud and mark it with chalk. I'll sand it down when I sand the entire lamp one final time.
Here's the lamp ready for sanding.
Next post we'll look at adding the screens. Since Mrs. G handled the paper products in this project maybe a guest author is in order for the next post?
Cheers!