Wednesday 28 September 2011

Finishing a Throne

 To protect the maple from water and the bunny from chemicals only safe finishes were used.  First a layer of Bulls Eye clear shellac to seal the maple and prevent blotching.  Then a layer of boiled linseed oil to liven up the grain.  Finally another layer of shellac to harden up the outside.


I think in the future I'd thin out the first layer of shellac by mixing it about 50/50 with some thinner.  Denatured alcohol isn't available in Canada anymore so there's no cheap way to thin out the shellac.  Bulls Eye comes as a 2 pound cut and for that first sealing layer I feel like I'd prefer a one pound cut.

Cheers!

Super Pooper Part 2

I was going to start this post with something along the lines of here's the carrot top and put in a picture of the comedian... but wow... I couldn't handle logging in to finish writing the post.  So I sacrified the really bad joke for my stomach's sake.

This is the top of the carrot in the various stages of it's evolution:

Fresh from the bandsaw.
After doing some carving with a Dremel.  The smoother groove on the left has been cleaned up with a chisel.
These grooves on the carrot have been shaped freehand with a core box bit

Carrot and top after being cleaned up with a chisel.

Glue up!
After sanding.

A dowel is added so the insert can't slide off


On to finishing.

Cheers!


Monday 26 September 2011

Super Pooper


This weekend between bandsaw attacks a tonne of progress was made on the bunny box.


The mortise and tenons for the carrot were cut last week but I was too lazy didn't get a chance to post the pictures.  The tenon to join the carrot was done on the old table saw with a dado blade and could be cleaner.  The mortise was 100% hand cut with a few chisels.


The little piece pictured below is intended to hold the bottom of the water bottle.  While the prototype was in use Mr. BunBun was pulling on the straw to the water bottle in the middle of the night with such gusto that rabbit stew was going to be the breakfast special.  This piece should stop the water bottle from snapping back against the carrot when bunny goes for a nightcap. Here's how it was made:
  1. Square off tenon side on the miter saw.
  2. Hand cut tenon using chisels since the old table saw made a rotten carrot.
  3. Drill a pilot hole that will allow a #8 woodscrew enough room to pivot.
  4. Screw the piece loosely to another piece of scrap.
  5. Clamp the scrap to the bandsaw.
  6. Turn on the bandsaw.  Watch out for low flying bandsaw blades.
  7. Change underwear should you encounter a low flying bandsaw blade.
  8. Pivot the piece 180 degrees on the screw to create the round end of the piece.
  9. Drill the hole to full size.
  10. Spend an hour rounding off the edges with a random orbit sander.  Do not put a piece this size any where near a router...If you do refer to step 7.

Dry fit #172!


Next post we'll look at the parts that did get put near the router.

Cheers!


Sawstop and Irony

Irony: The day after I finished assembling and tuning my sexy new Sawstop, the bandsaw got jealous and threw a fit!  The blade snapped a tried to bite me.
Here's some more pictures of the fully assembled table saw.  Hopefully they don't make the drill angry or the router pout.


Friday 23 September 2011

G builds a Vacation home for Bunnies

Every so often G's Wood Shop has a furry visitor named Bun Bun.  The bunny likes to travel light and recently showed up with just his "pooper" and a new water bottle.
A prototype vacation home was quickly assembled using scrap from around the shop to accommodate the marble making machine for the weekend.
Bun Bun took it upon himself give his new condo some curves so this was incorporated into the design.
Softwood apparently isn't particularly good for bunnies due to the resins so a quick trip to Home Depot for a 6' maple board provided materials for the project.  Home depot had a lot of Oak in the maple stack, they should look into that.  There were only 2 actual maple boards on the rack at a 6' length and although beat up the one I took had some figure to it so I wasn't entirely unhappy.  It also came with free cupping, scuffs and a few smears of paint.  That's what I get for being too lazy to drive over to Exotic Wood in Burlington.  I'll have to spend some extra time sanding so Bun Bun doesn't complain.

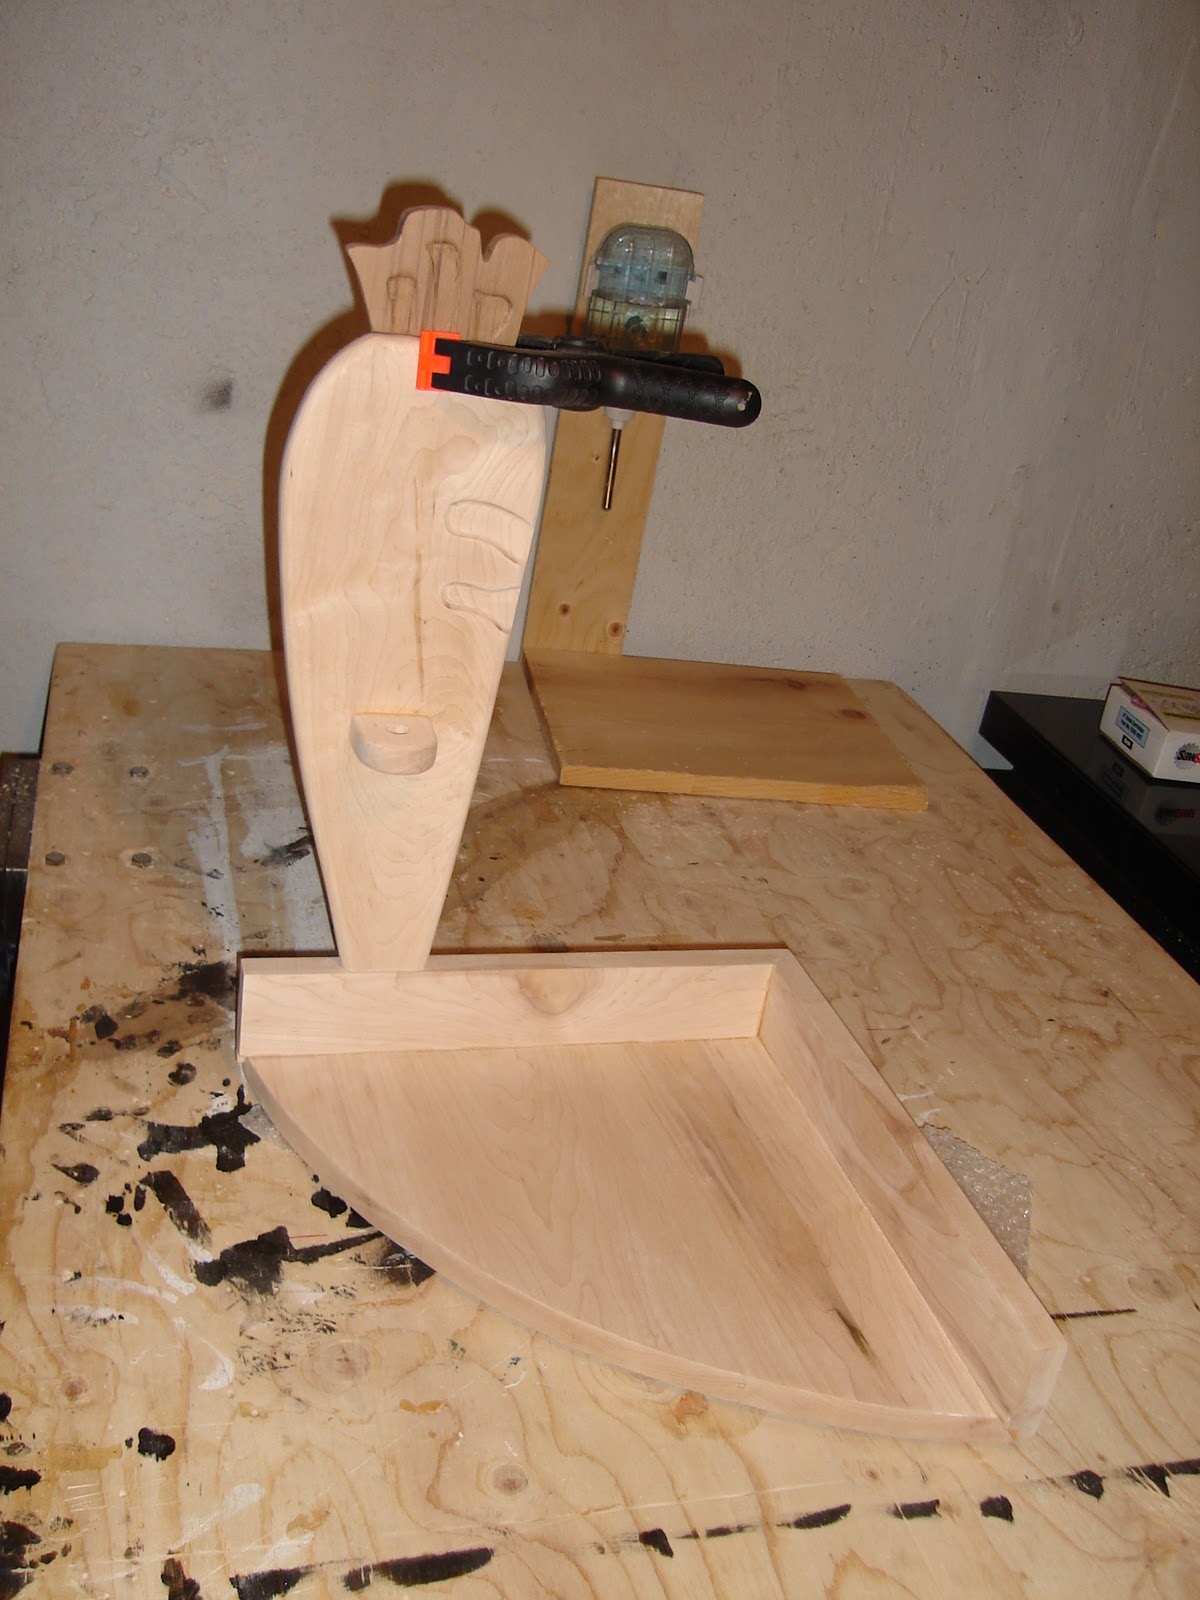
The "pooper" is a quarter circle shape and during the night it got pushed around the room a lot.  The final design will hold the litter box in place with walls on two sides and a couple of dowel posts on the front edge.

Three pieces of the 6" wide maple were glued together to form the floor.
While the glue dried a template was cut out to help with the sizing and shape of the floor.  This 1/4" ply doesn't sand too well so I won't use the router and a template bit to cut the floor.  Instead I will cut the floor out on the bandsaw and sand it curve smooth.
To draw the curve I placed the piece of plywood on the work bench and clamped a wood screw into the vice.  I then put the hole that's used to hang my ruler over the screw, held a sharpie at 18.5 inches and traced a curve.  The curve radius is 18.5" but the length of each side is more like 13 1/2".

Rabbits (intentional bad pun) were cut into two side walls. 


The post supporting the water bottle is going to be carrot shaped.  Bun Bun's house keeper gets credit for drawing the carrot.

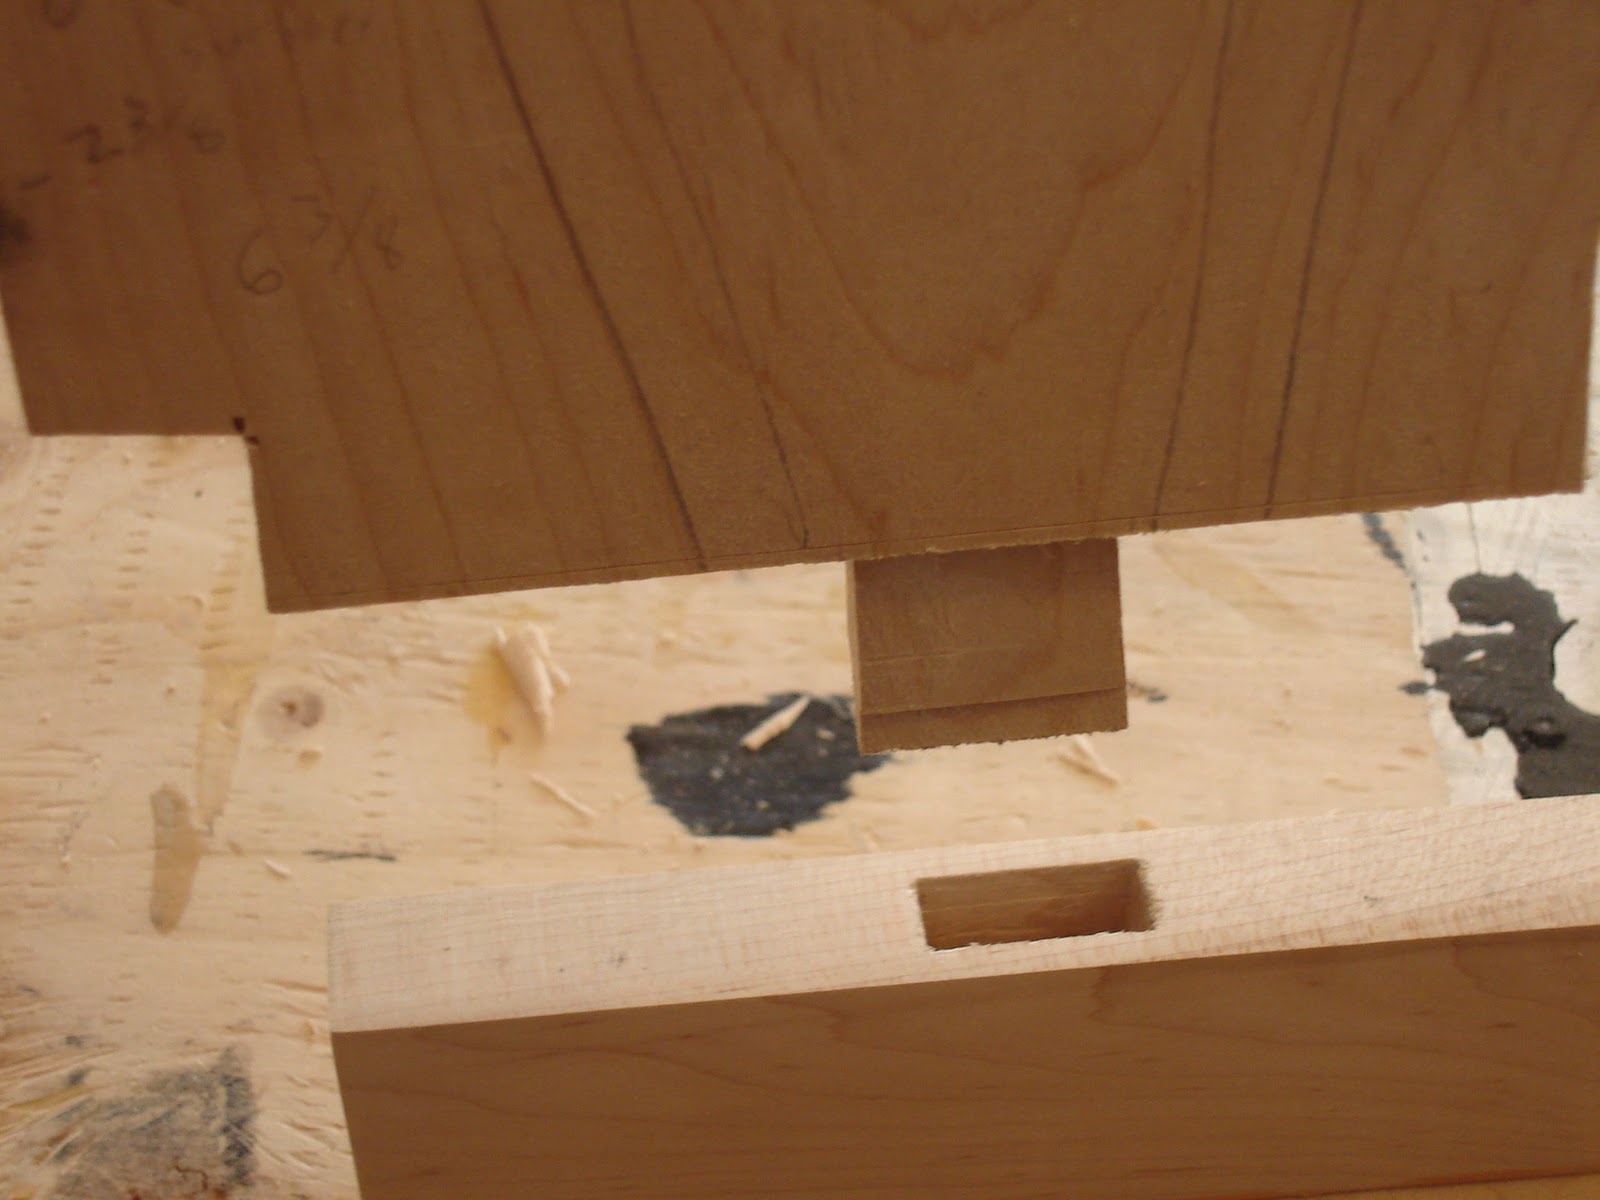
Clamping 2 sides to a circle presents a challenge!  The trick was to use the ratcheting strap around the sides which wanted to pull the angle out of square.  The clamp that goes from the corner to the curved edge forces the corner back to 90 degrees.


I got distracted and missed cleaning up the glue squeeze out after 20 minutes so I've created even more sanding for myself.

Sawstop for the Wood Shop!

Because my wife wanted to shut me up G's Wood Shop got a new addition this week.  Thanks to Teg's Tools for doing the initial setup of the saw and being brave enough to get get it off of the truck with only me for help.

There is a post pending regarding the clamped up project that's visible in the back ground.

Wednesday 7 September 2011

Something to reflect on

What good is a dresser if you can't see how studly you're looking after using it?  This weekend the matching mirror was attacked with a card scraper.  Then sanded with a random orbit sander at #100 and #150.  A hand sanding at #400 made sure the exposed end grain in all of the curves was Aqua Velva smooth.  One coat of Minwax PolyShades classic black was applied using a foam brush.  The foam brush applied this stuff thick and fairly evenly.  Here's some pics:


Before

After the card scraper attack

One coat of Classic Black Minwax PolyShades