Showing posts with label Entryway Bench. Show all posts

Tuesday, 10 April 2012

Entryway Bench Part 9 - The Finished Product

Here's the finished Entryway bench in its natural habitat!  The bench is a perfectly snug fit and was quickly accepted by local shoes, boots and sandals.


The lid will stay open at any angle thanks to torsion hinges from Rockler.  I had originally intended for cheapo piano hinges but realized that the back legs are mounted proud of the the back surface and would block the piano hinge from opening.
 And a pillow, because nothing is complete in our house without a pillow or 2 ...or 3.


What did I learn from this project:

  1. Take your time.
  2. Using templates is fun.
  3. I need sharper chisels.
  4. Take into account anything that sticks out when adding hinges.
  5. Applying poly in a 2 inch gap is hard.
  6. Sanding is a good way to relax after work.
  7. Poplar isn't just for painting anymore.
  8. I like little details like curves that match on the top and bottom of a bench.
  9. Seven year olds think that polyurethane sanded to10,000 grit looks and feels "oily".
Cheers!
-G

Thursday, 29 March 2012

Entryway Bench Part 8 - Taking a Seat for the Finish

This is the home stretch.  The bottom of the bench looks good and is inspiring me.  The plan is to add a curve to the top of the bench to give it some shape and make it inviting to plop down onto to pull off snowy wet boots during the winter after a hard day of shoveling snow.  I also want to add a round over to the bottom of the seat so to carry the shape from the ends of the rungs up to the top of the bench.

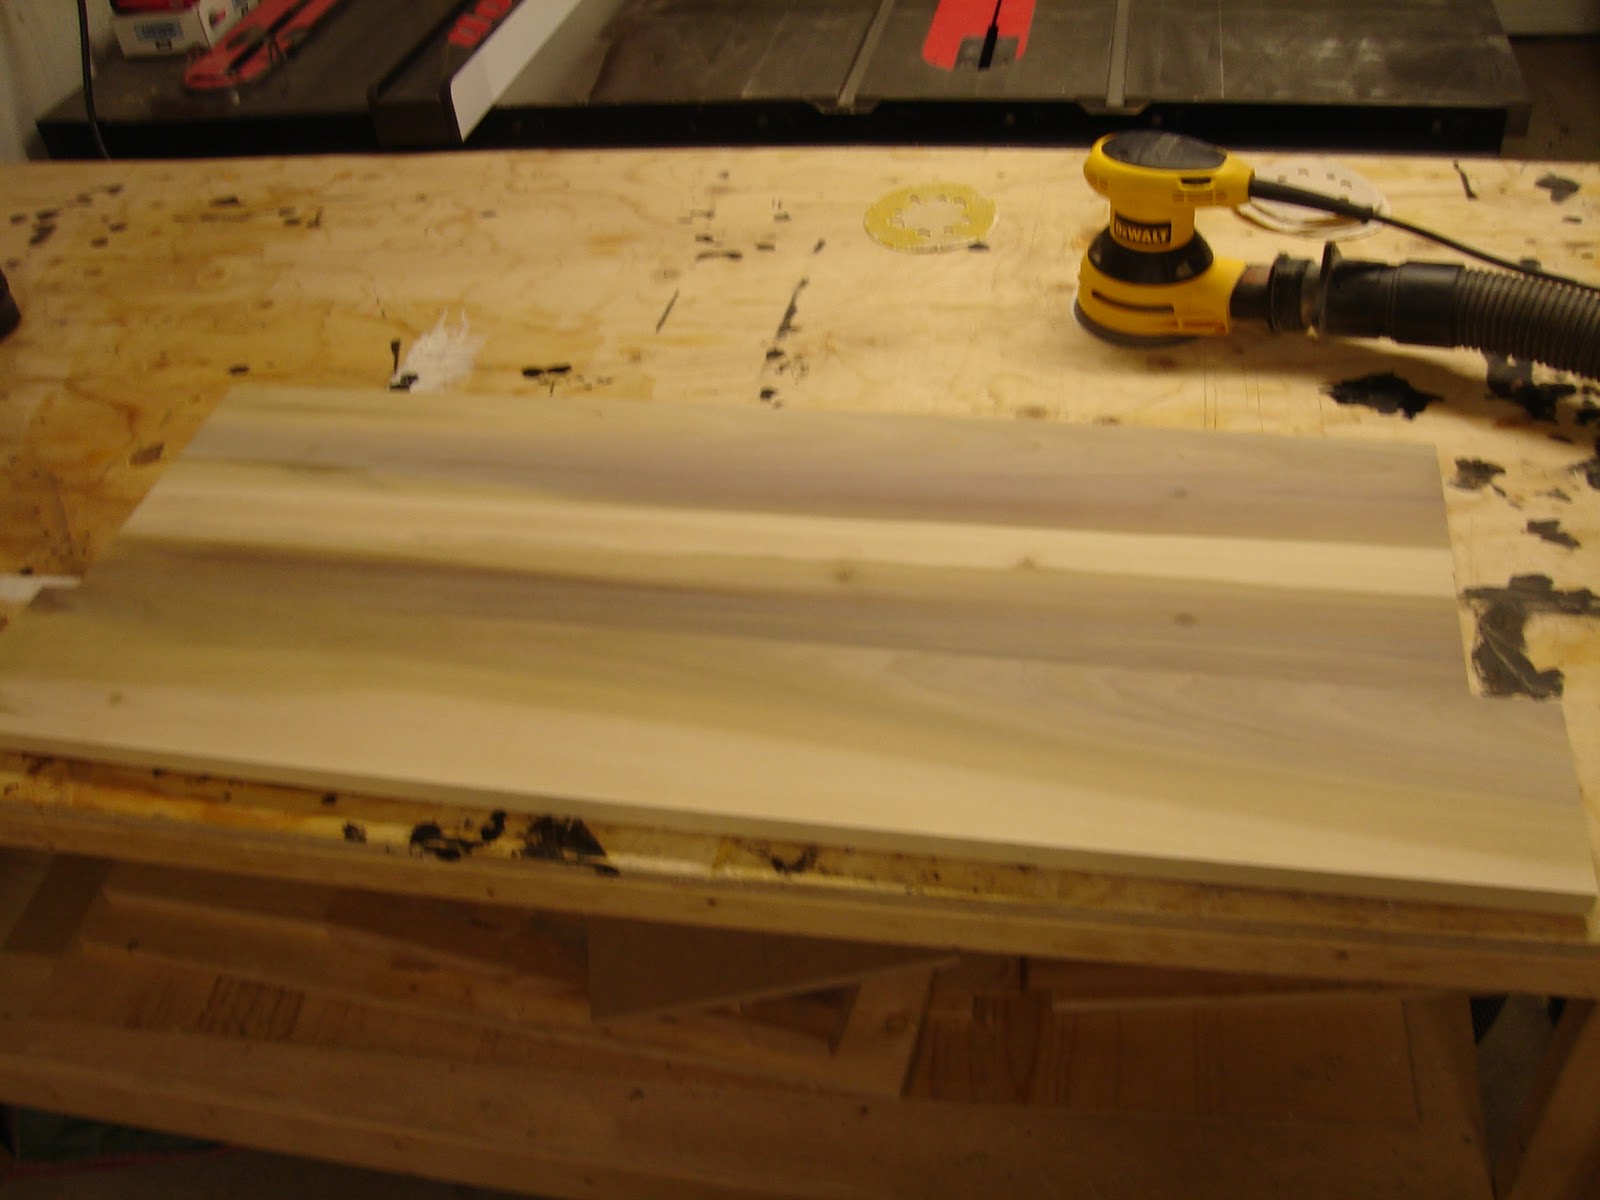
So I start with some sanding to flatten out the top and remove any glue squeeze out.

Before sanding:

After Sanding:

Things are going so smoothly at this point I forgot to stop and take pictures!  I cut one side down on the table saw to give it a straight edge then measured and cut the entire seat to length.  Next I attached the curved template I've had around for the seat since the beginning of the project.  I took the seat to the bandsaw to rough cut the curve then I finished it with the router and a template bit.

I turned the seat over and routed around the sides and front with a large round over bit.  This should make it easy on the figures when opening the lid and give the top the same upturned look as the bottom shelf rungs.
This is what the top looks like after it's final sanding.  It's a little blurry because my hands are vibrating from sanding for an hour.
And here's the bottom:
I've added a coat of boiled linseed oil here.  It really makes the greens, browns and purples in the poplar much more distinct.

These are the pieces after their first coat of Minwax Polyurethane.
This is a close up of the bench seat with the Poly.  Two more coats with some light sanding between and this bench will be ready for some hinges, which at this point I still haven't ordered...maybe I should get on that.
Cheers!
-G

Wednesday, 21 March 2012

Entryway Bench Part 7 - Assembly

It's time to get some of this stuff glued together!  We'll start with the bench top so it can continue to be worked on while the rest of the bench is glued up...in theory.  (In actual fact nothing happened to while the bottom of the bench sat in clamps for about two weeks.)

So here's the top of the bench clamped between cauls to keep it flat and with a good portion of my brand new pipe clamp collection holding the pieces tightly together.


I labeled the joints with a sharpie to avoid confusion while gluing and clamping.  The last thing I needed was to glue the pieces together backwards or upside down.

Sometimes a snug fitting joint becomes a little tight when glue is applied.  Notice the Ikea assembly tool in the picture below.
Now for the hard part.  Tip: Grow extra arms, get a helper or use glue with a long working time when assembling this many pieces.  I of course did none of those things.


It all worked out!
Now with the base glues up the seat can be measured out to exactly the right dimensions.

-Cheers!

Tuesday, 6 March 2012

Entryway Bench Part 6 - All rung out

We pick up today with the bottom rungs cut to length.  Here they are hanging out on the bottom shelf not doing much of anything.
Still just sitting around.
If you rungs don`t do something soon I`m going to ...
Oh great, the lower stretcher joined them and still nothing`s getting done!

Here we go!  Step 1 is to double stick tape the template onto the rung.

After trimming the curve as close to the template as possible on the band saw I clamp the rung to the table.

The router that was prominent in the last two pictures finally got plugged in and made the curve flush with the template.

I cut into the rung on both sides using the tablesaw.

Here`s the end of one rung after it's been rough cut on the bandsaw.

I had to peel the double sided tape off of the rung with a card scraper.  You can see the curled tape below.

Those lazy rungs are now hard at work making the bench look awesome.

Still looking awesome.

Ok, the top needs some work next, it`s not so awesome yet.
Cheers!

Wednesday, 29 February 2012

Entryway Bench Part 5 - Cutting Corners

This week is all about corners.  First we'll look at where the storage bottom shelf will rest in the legs.  The options were to cut out the shape of the legs in the corners of the shelf or to cut out the shape of the shelf in the legs.  In order to make it a little easier  I opted to do ...both?

It's a little hard to see here but the dado the drawer bottom is going to fit into is cut across the leg at a 45 degree angle. 

Here I do some dry fitting and measure the actual length that the storage bottom needs to be.
And here I do the same thing to get the actual width.  I waited until the build was at this point to do the measuring instead of relying on the measurements from my SketchUp drawing just in case some of the dimensions were changed along the way.  I was a little surprised to find the dimensions turned out exactly the same!
The MDF storage bottom is cut to size on the table saw and the corners are cut off Battlestar Galactica style.
The storage bottom fits like a glove.  Notice the broken figure where one of the longer side pieces got away from me during assembly.
This feels like an appropriate place to stop for now.  Cheers!

Wednesday, 22 February 2012

Entryway Bench - Part 4

So we're finally getting back to the bench.  The projects that are for yourself are always second priority aren't they?

At the end of part three we had the right and left sides of the bench dry fit together.  Now it's time for the front and back.  Not much to see here.  The front and back pieces were cut to size and the tenons were cut in the ends.  A groove was cut into the front and side pieces to hold the bottom piece which will be made out of 1/2" MDF.  The real perk this week is that the bench is starting to look like a bench!

Front, back and sides with tenons and a groove cut for the bottom.

The Back

The Front

Here I added the templates I cut earlier to get a feel for how the curved pieces will look.

Wednesday, 19 October 2011

Entryway Bench - Part 3 - Channel your inner flannel!

Time to channel my inner flannel!  Instead of hand cutting eight more mortises over the next 2 or three nights I got my Norm Abrams on and made a jig for the router.  The jig allows me to cut a mortise from the top of the leg and stop at the exact same point on every cut using a 3/8" slot cutting bit with a bearing.


Clamped up and ready to be cut.


The end result, all eight mortises look exactly like this.
Then all that was required was to square up the curved end of the mortise.
I didn't screw up any measurements while cutting the sides this time so they went together like a charm.
I haven't decided which part is going to be next.  My choices are the bottom shelf rails or the front and back of the storage area.  I'm also temped to get started gluing up the top panel that makes up the seat so it'll be ready to go when I'm ready to cut it to size.

Cheers!