Showing posts with label Mahogany. Show all posts

Wednesday, 8 February 2012

The memory box is creating it's own memories (Memory Box pt5)

The box is looking so good at this point I can't help but be proud of it. I just wish I had better lighting and a better camera so I could convey how good this thing looks in person.
Glued and clamped


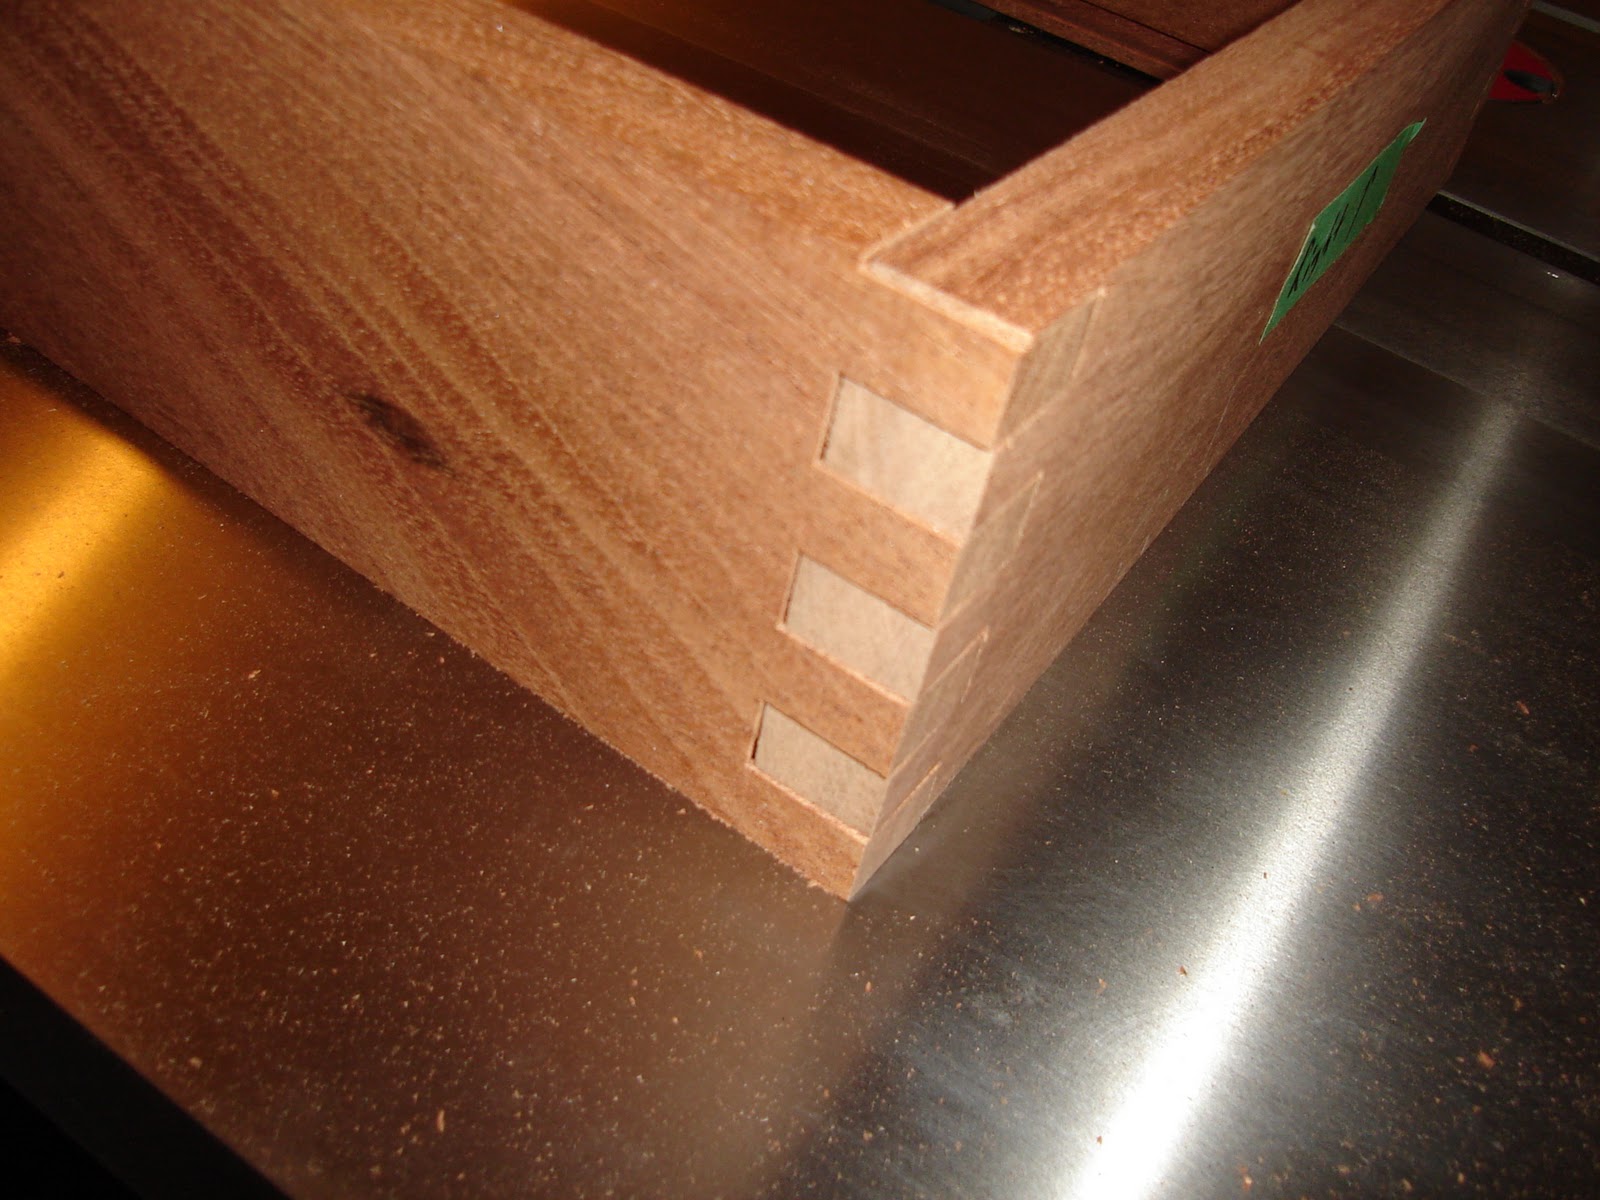
The box joints are sanded flush and the outside is sanded to 220 grit.


All four sides are run though the table saw to detach the lid.


Preparing to make cutout for the hinges.

Hinges are added into rabbits so the lid will fit flush.


Wednesday, 1 February 2012

All Tops and Bottoms (Memory Box pt3)

The top and bottom panels of the box are very simple.  The design is meant to highlight the wood grain. In this case we tried to let nature show a timeline starting at the left and growing to the right.


Now that I've made this post I see that I might have reversed one of the boards on the bottom panel.  I use the chalk  triangles to make sure they go on in the right direction and order.  I use the letters I and O for inside and outside and the letter F with an arrow to denote the Front of the project.  These notes start out in chalk on the project and are later put onto green painters tape as the project progresses.


And In This Corner! (Memory Box pt4)

Two jabs and and uppercut later...a box jointing jig is victorious in a TKO fight against hand cut dovetails.

This project is very angular and box joints felt like the right design choice.  They are very strong, provide some visual interest with the contrast of the end grain and long grain wood, plus they're easy to make with a simple jig.

I'm sorry I didn't take more pictures of the jig in use because it's so simple to use but now I realize, hard to explain.

This will do a better job than any wall of text I could possibly put here.  Just keep hitting the 'Next' button button.  Box Jointing Jig.


Now that the sides are done, exact measurements can be taken to cut the top and bottom to the right size.
After being cut to size rabbits are cut around the edges of the panels to fit snugly into the grooves.
Now the sanding will commence!  The inside surfaces of the box are sanded down to 220 grit now while they are easily accessible.

Next post should be dry fitting and glue up.  Cheers!


Thursday, 26 January 2012

G Get's His Groove On (Memory Box pt2)

The plan for this box is to "box joint" the four sides together with a top and bottom panel resting semi-loosely in grooves.  The box with be assembled as one sealed piece and cut into a lid and bottom on the table saw.

Each side piece was cut to exact length and fastened securely to the the workbench.

Then the grooving began to a syncopated rhythm that matched the undulations in the mahogany's playful grain.  In other words, every time the grain changed I had to adjust the direction I was pushing the dado plane in to avoid serious tear out.  Eight hours of dancing to this funky beat produced a pile of wood chips.

It also produced the eight very satisfying grooves that would hold the top and bottom panels tightly but still allow for some seasonal wood movement.
The dado plan in action.

Each groove needed two passes to create the width.  This is  one end after the first pass.

You can faintly see the layout lines for the box joints.


Cheers!


Saturday, 14 January 2012

Wedding Memories or Pirate Booty? (Memory Box pt1)

Every pirate can tell you, real treasure is kept in a wooden box...next to the rum.  This box was created to keep treasured wedding memories safe.

The project started with some dimensions and a simple design in mind.  A trip to plunder the always friendly and helpful Exotic Woods got the project underway.

A lot of time was spent with Mrs. G deciding on how the grain would line up on the box.  The decision was to have the grain meet at the left and show growth to the right to symbolize the start of a couple's journey into the the future together together.  A fitting theme for a box of wedding memories, not as much for a box of pirate loot. (G's Tip: If you want to build a pirate box, make the grain look like an X.)


The wood is cut to rough length and stacked.  Arrrrrgh!